
How to Install Separator Molding Between Cabinets Like a Pro
If you’re a carpenter, learning how to install separator molding between cabinets can come in handy nowadays.
The latest kitchen trends can be summed up in one word: big.
More and more cabinets are being added in all directions—one of the most popular is stacked cabinets. Almost every kitchen I install seems to have cabinets piled on top of other cabinets.
Because of this, I’m commonly asked two questions: “What is that molding between the cabinets called, and why are you using it?”
The answer to the first question is separator (or transition) molding. And it plays a crucial role in kitchens that have stacked upper cabinets.
Interested in learning more, and how to install it? Keep reading.
Why is Separator Molding Used?
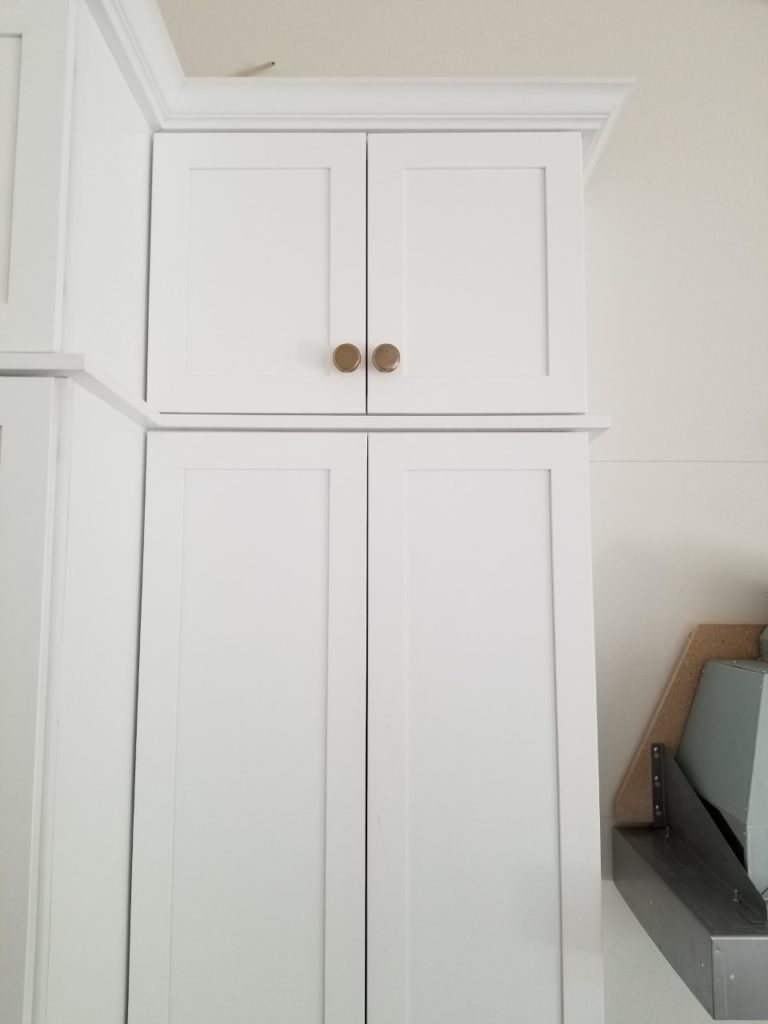
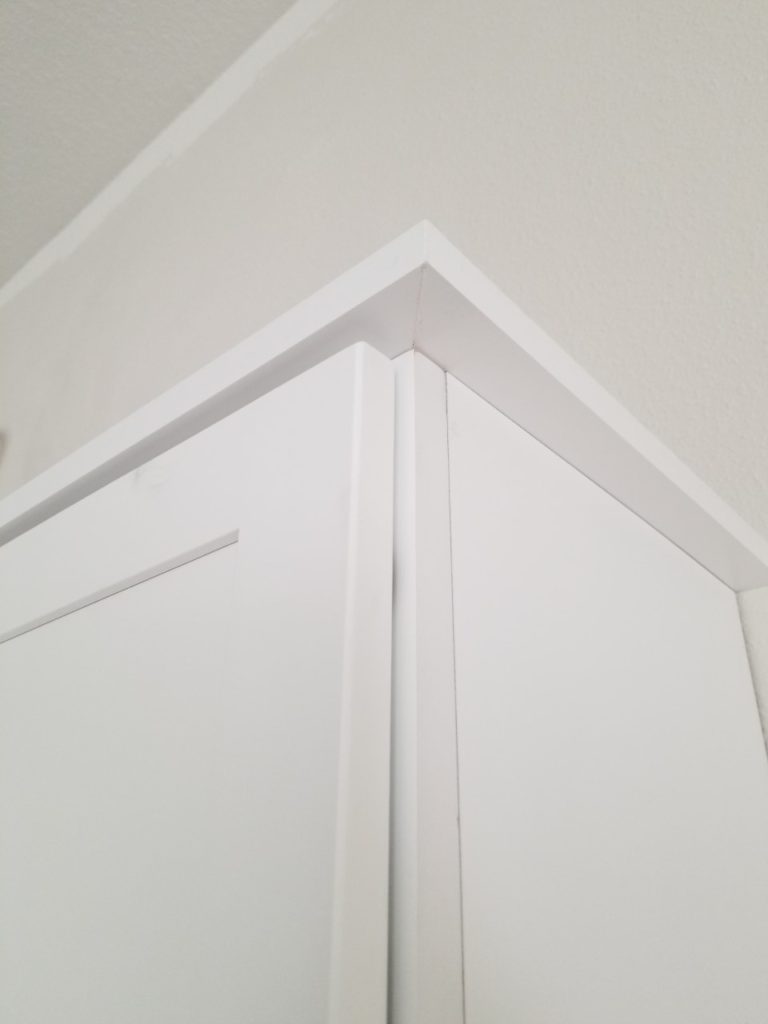
Two reasons. The first is ornamental. It adds another trim detail giving the cabinetry a more elegant look. Like in the above picture, an added profile gives it even more pizazz, but a simple square-edged profile works just as well, like this:
The second reason separator molding is used is to provide adjustment when installing the stacked cabinets.
Because walls have bows or are out of level, separator molding gives the installer some play when setting the upper cabinets. If they need to be shifted in one direction or another by a 1/8″ or so, the separator molding hides it.
How to Install Separator Molding
Installing separator molding is easy, but there are a few tricks.
The most important thing to remember is to ensure the wall cabinets are level. A flat surface helps with the installation of the separator molding as well as the stacked cabinets.
If your wall cabinets don’t line up at the tops, it will lead to uneven molding, leading to unevenly stacked cabinets. This can be a real issue if crown riser molding is attached to the top of the stacked cabinets and the crown is pushed to the ceiling (like in the first picture).
(Side note: I have an entire blog post dedicated to making and installing crown riser molding.)
Okay, here’s my step-by-step process for installing separator molding.
Step #1: Prepare the Molding
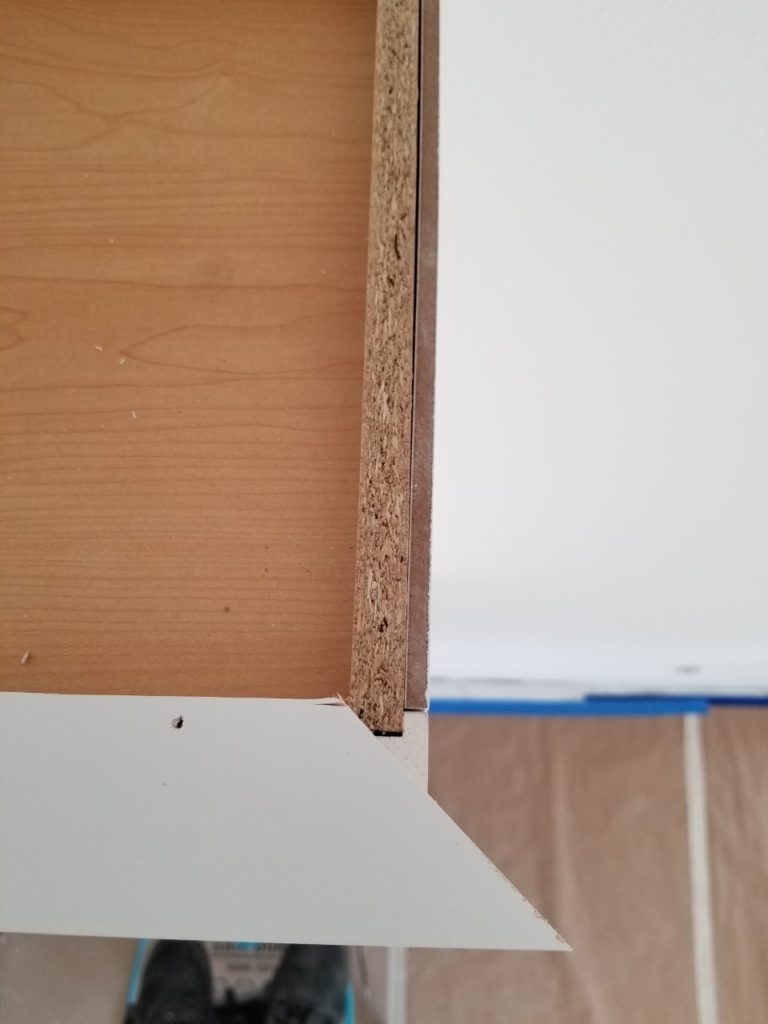
I always rip my material down to 1 7/8″ wide. Why? Because at that width, it can be lined up with the back of the face frames of the cabinets and nailed. It extends a touch beyond a standard 3/4″ thick cabinet door, and it also makes measuring a snap (more on that in a minute). Here’s what I mean:
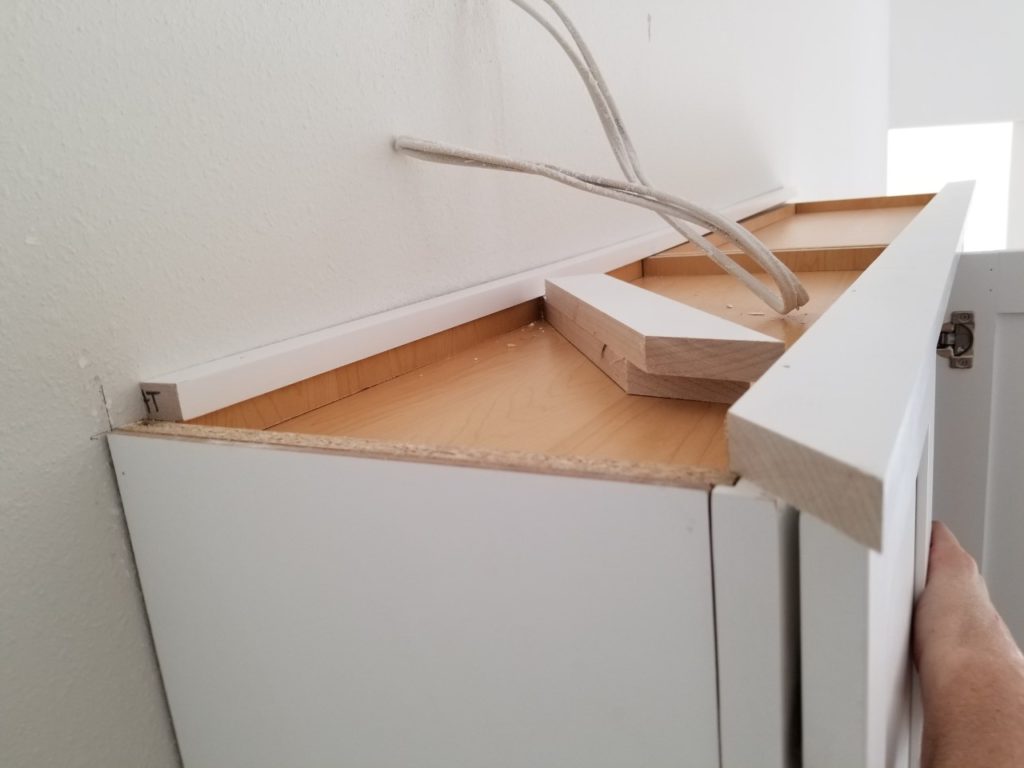
It’s the same with the returns. Line up the cut edge of the molding with the inside of the cabinet sides. Here’s a top view of what I’m talking about:
Using this method keeps things simple and the measuring easy. Just measure the inside of the perimeter of the cabinetry where the separator molding is to be used.
Step #2: Measure, Cut and Install
Using the measurement system above, I measure and cut all my molding.
Then I nail it from the top down into the face frame and side panels of the cabinet. Be careful when nailing into the side panels, especially if they’re particle board. It’s easy to have a blowout.
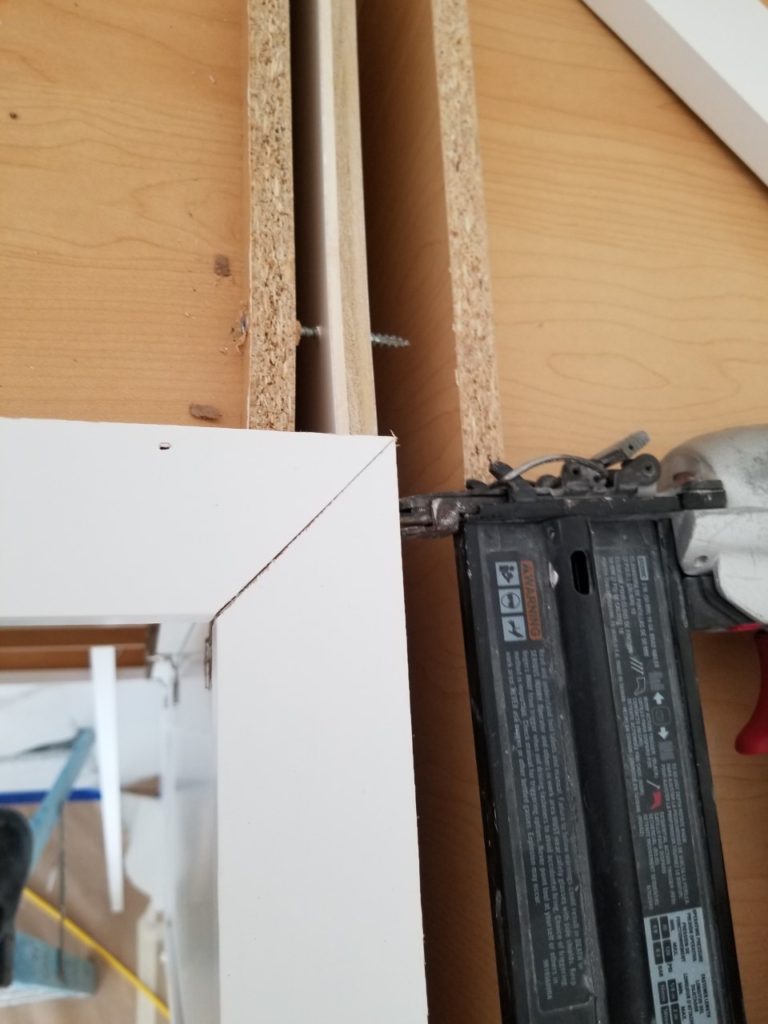
When I come to the inside corners, I glue and nail the miters through the back like this:
On the outside corners, I glue and nail through from both sides to stabilize the miter.
Step 3#: Add Spacer Material
This is important. Always add spacer material (deadwood) to the back of the cabinets.
Why? This is what supports the back of the stacked cabinets. And it provides a gap between the wall cabinets and the stacked cabinets that can be used to run electrical wiring for cabinet lighting in the lower wall cabinets.
I typically use 3″ x 96″ filler material for my separator molding, and when I rip it to 1 7/8,” there’s a 1″ drop left over. I use this drop for my spacer material as it’s the same thickness.
Like with separator molding, I nail the spacer material down through the top to ensure it’s attached.
Once all your separator molding and spacers have been added to the tops of your cabinets, you’re ready to mount your upper stacked cabinets.
Easy enough, right? Just remember the most critical points:
- Rip the molding to 1 7/8″ using the drop as spacer material
- Measure the inside perimeter of the cabinetry where the molding will be used for a fast and easy cut list
- Line up the cut edge of the molding with the back of the face frame and side panels and attach it by nailing from the top down; and to add extra support on the inside miters, nail through the back
Now it’s Your Turn
Now that you know how to install separator molding between cabinets, installing bigger, more complex kitchens with stacked upper cabinets should be a breeze.
All that’s left to do is set up your table saw and rip down your material, measure everything using the system above, cut your molding to length, hop on a ladder and start nailing.
If you have any questions, are a designer, small builder, or cabinet distributor in Tampa, Florida, and are looking for cabinet installation, please get in touch with me.
Copyright Blackburn Custom Woodworking, Inc. 2023